You can make a slow-motion video on an iPhone in two ways. The first option is to record a video directly in Slow Motion or make a normal existing video in slow motion.
Let us first discuss how to make a normal video in slow motion.
Make a Normal Video in Slow Motion on an iPhone
1. Open the iMovie app on your iPhone
Search for the iMovie app on your iPhone. If you don’t have the iMovie app, you can download it for free from the App Store.

2. Create a new Project in iMovie
Tap Start a new project. It’s at the bottom corner of the screen on the latest version of the application. Then tap on the Movie option. It’s the last option on the list.

Next, you need to select a video from the iPhone’s album and tap the Create Movie Option.
This process will open the video for editing in iMovie’s timeline.
3. Editing the Video in iMovie
Tap the video in the editor screen. Do not tap the larger version (the preview) at the top, instead tap the elongated video in the bottom half of the screen called the timeline.

It will display many icons and options at the bottom part of the screen.
Tap the speedometer icon. It’s the second icon at the bottom. It will open speed controls for the selected video.
Drag the speed slider left to slow down the video. The default is “1,” which means the video plays at regular speed, the farther you drag the white-and-yellow slider to the left, the slower the video will play.

Tap the preview to see how the video looks and sounds at its new speed. If you drag the slider to the right past the “1” value, it will speed up the video instead.
4. Saving your normal video in slow motion on an iPhone
Tap the Done button on the top left of the screen to save your project.
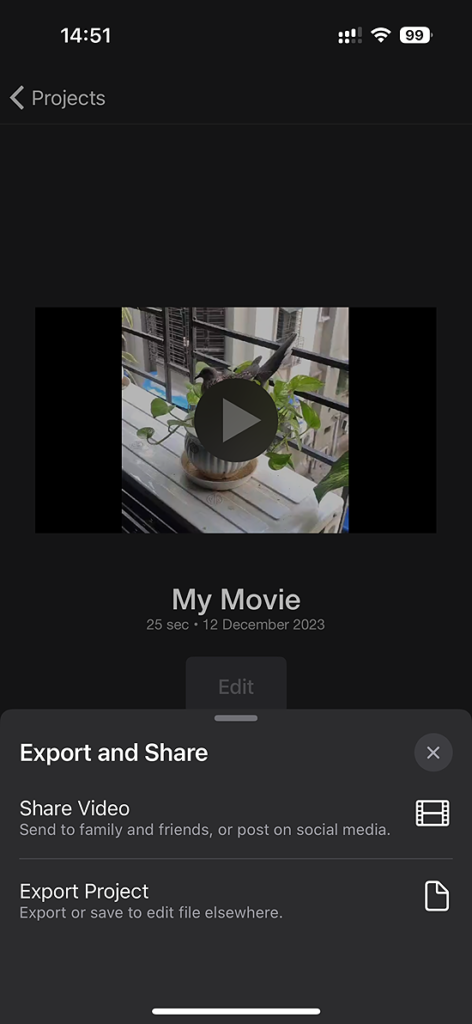
The video’s new speed is now saved to iMovie Project, but you’ll still need to save the completed video to your iPhone.

Tap the Share icon. It’s the square with an up-arrow below the movie, at the bottom of the screen. A list of sharing options will appear.
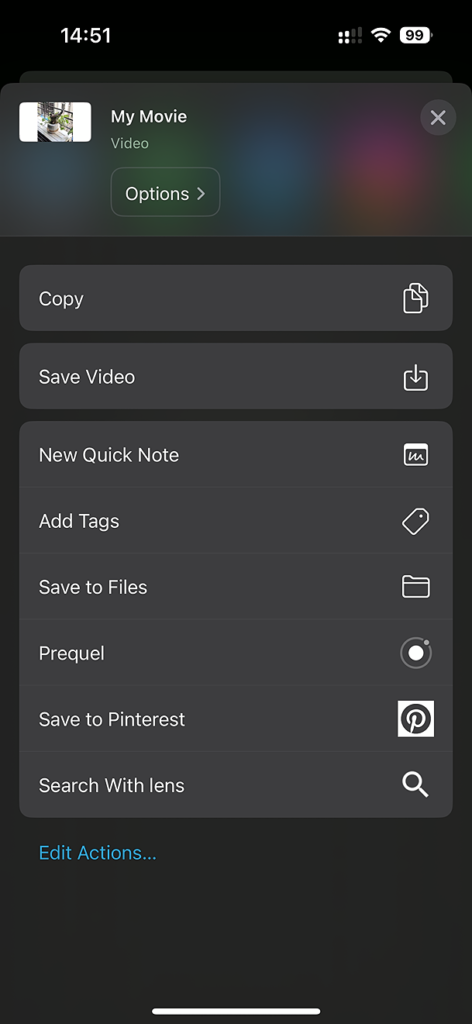
Tap on Share Video and then save the video. This step will save your new slow-motion video to the camera roll on your iPhone.

How to Directly Record a Slow Motion video on an iPhone
You can directly record a slow-motion video using the camera app on your iPhone.

Open the Camera app on your iPhone. Usually, you will find this on your home screen.
Swipe left to select the SLO-MO option. You’ll want to do this on the tabs that run along the bottom of the screen, just above the red shutter button.

On this screen, you can change the camera by which you want to take the slow-motion video. Almost all new iPhones support recording slow-motion videos through front and back cameras.
Tap the red shutter button to start recording. You can tap it again to stop recording or swipe right to lock the recording.
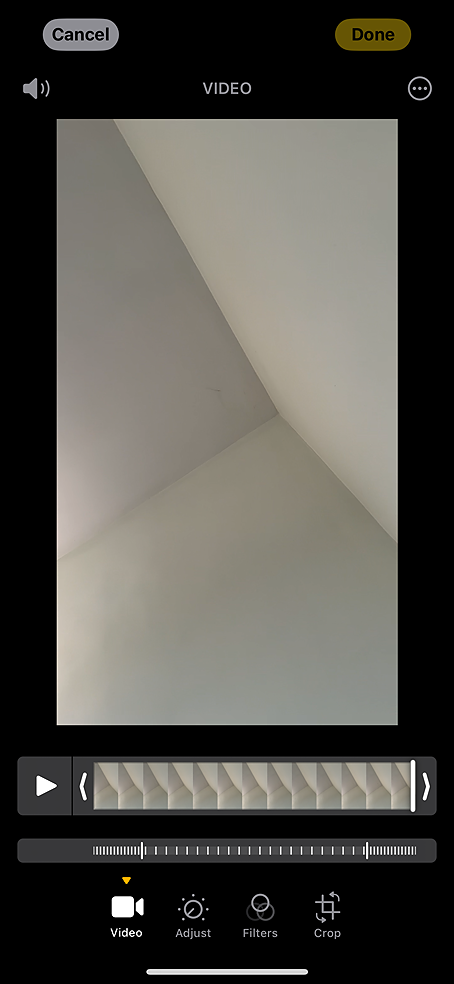
To edit the slow-motion effect on the video, tap the thumbnail of the video at the bottom-left corner.

You can drag the sliders at the bottom to adjust the start and end points of the slow-motion section. Tap Done to save your changes.
Slow Motion Video on iPhone
After reading this article, We hope you understand the process of making slow-motion videos on an iPhone. If you already have a normal video, you can easily convert it into a slow-motion video using iMovie.
You can learn more about Slow Motion Videos on iPhone here.


